Table of Contents
- Overview
- Setting up your Ubuntu server
- Setting up the LAMP stack
- Setting up Let’s Encrypt SSL Certificates
- Installing WordPress
- Configuring PHPMyAdmin (optional)
Overview
If you’re looking to build a website or a blog it’s highly likely you’ve decided to use WordPress as your platform of choice which makes up around 43% of all websites on the web. WordPress, as you might know, comes in two flavors:
- WordPress.com → CMS as a service provided by none other than Automattic a company that officially backs the platform and is headed by Matt Mullenweg one of the original authors/founders of WordPress. Now, this is an excellent offering if you plan to run a blog or a small business website that doesn’t need extensive customization or the need to control plugins. It’s also agreed in the community that once you get past a certain point in your journey as a site owner/administrator, your options for control and customization start becoming limited.
- WordPress.org → An open-source offering of the same CMS by one of the largest communities with 100% control over its setup and customization and all for free. Keep in mind this does expose you to a bit of complexity that you might not want to deal with but when someone says WordPress, it’s highly likely they’re referring to this flavor.
As you might know, self-hosting WordPress is a job in itself and there are many options out there like shared hosting (GoDaddy, NameCheap, Bluehost), quick installs, managed hosting offerings (WPEngine, Kinsta) and some of these companies also offer cloud hosting services that might be useful if you’re on their shared plan and looking to upgrade but still prefer services from a hosting company.
But, there’s another way that is a little complicated but in our opinion one of the most controllable and customizable options for running your own self-hosted WordPress install. Cloud infrastructure services like AWS, Google Cloud Platform, DigitalOcean, Linode, and more allow you to run a virtual machine (VPS) which essentially acts as your own server with a public-facing IP address attached to it that can serve your WordPress installation. It exposes you to some complexity but is a great option for site and blog owners who are tech/cloud savvy but want to run one or multiple sites or applications on their very own virtual server for as little as $5/mo.
What’s more, you can even start hosting your site for free (up to 12 months) with offerings like the free tier from AWS and Google Cloud. AWS even offers the first 3 months free on its lesser-priced LightSail instances (one of its less complicated offerings) with similar options from other providers in form of credits. Oracle cloud even has a free forever plan.
In this complete guide, we’re going to explain in detail how to set up the LAMP stack on Ubuntu 22.04 and configure everything from the domain, and SSL certificates to setting up the WordPress installation and securing the server.
We’ll get it up and running on one of our subdomains: testwp.rewaant.com and also go through some add-ons which make using the server for hosting additional PHP apps and WordPress websites easier in the long run. One of those applications is PHPMyAdmin which is highly useful but optional.
Let’s shoot!
Setting up your Ubuntu server
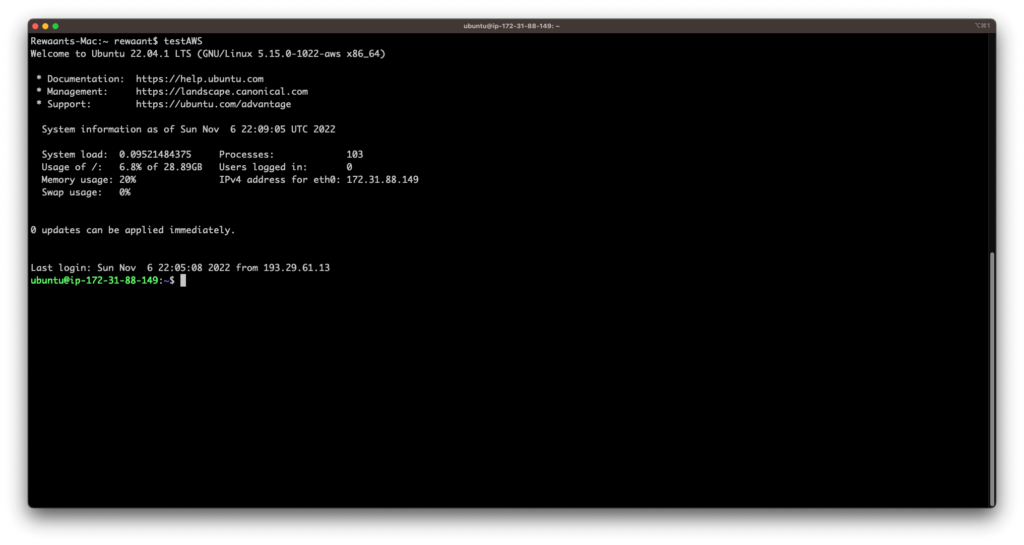
We now need SSH access to the server running Ubuntu, we’re using an AWS EC2 instance in this guide but for the most part, this guide should be good for almost any other service and the steps remain similar once you’re authenticated to an Ubuntu 22.04 server using SSH.
If you need help connecting to the server with SSH, consider reading our Connecting with SSH guide.
Once you’re authenticated, you’ll see a screen similar to this one:
Before working through the initial steps, I’ll recommend updating the server packages and reboot with the following commands:
sudo apt update
sudo apt upgrade
sudo reboot
Reconnect the server with the SSH command from the terminal. Once you’re connected, our first order of business is to create an administrative user other than the root or default user, the reasons for which are well explained all over the internet. Long story short → root is a superuser and therefore has superuser privileges, executing commands unknowingly can completely break a system and may lead to a loss of hundreds of hours of effort in some cases in addition to financial loss. Hence, we’ll be setting up a user with limited privileges and then add it to sudoers so occasionally when we’re running commands that need attention, the sysadmin will first need to authenticate.
Setting up a new user
sudo adduser [username]→ Creates a new user. This will trigger the following screen:
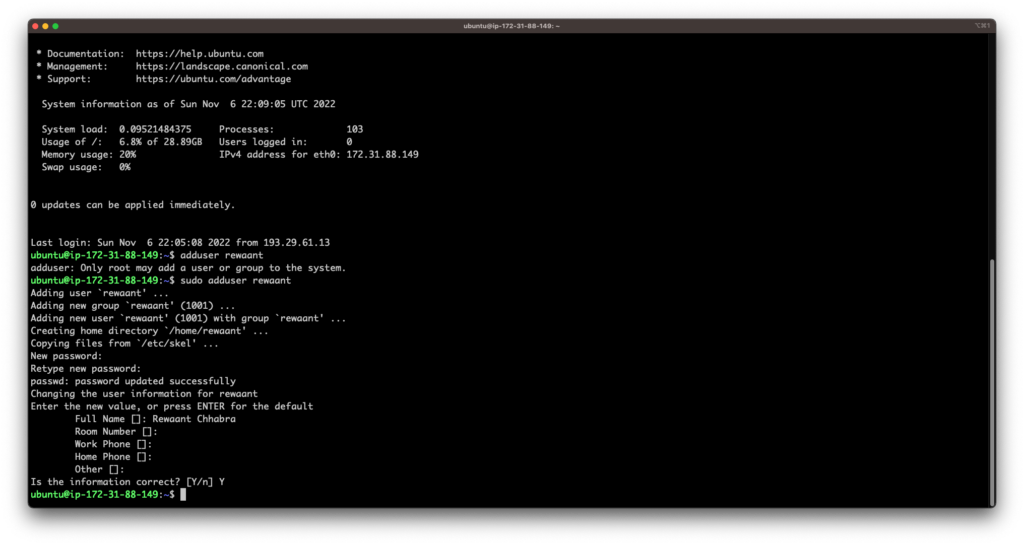
- Fill in all the information as required.
- Once it’s created, we’ll add the user to the sudo group with the command
sudo usermod -aG sudo [username]This will make sure the user can sudo commands which require superuser privileges. - We now need to create a keypair so that we can SSH into the server with key-based authentication. We’ve written a complete guide on securing SSH access to the server with key-based authentication, please read here and follow the rest of the tutorial afterward. For the sake of brevity, we’ll continue to set up the rest of the server with the default user.
Securing with Firewall
Setting up a firewall can help us filter internal traffic sources which add an additional layer of security. Many cloud services offer similar services which are built into the platform like AWS security groups but we’ll be covering native firewall configuration with a program called UFW.
- Check if the service is already active with
sudo ufw status - Make sure that the OpenSSH service is allowed so you don’t get locked out of the system. Use
sudo ufw allow OpenSSH→ This allows all connections over port 22 for both IPv4 and IPv6. - As we’ll be using this as a web server, we’ll also need to allow port 80 for HTTP and port 443 for HTTPS. Use
sudo ufw allow 80andsudo ufw allow 443. It’s already enabled on our server so it’s skipping adding existing rules. - Enable firewall with
sudo ufw enable - Check the status again with
sudo ufw statusYou should now see a similar screen:
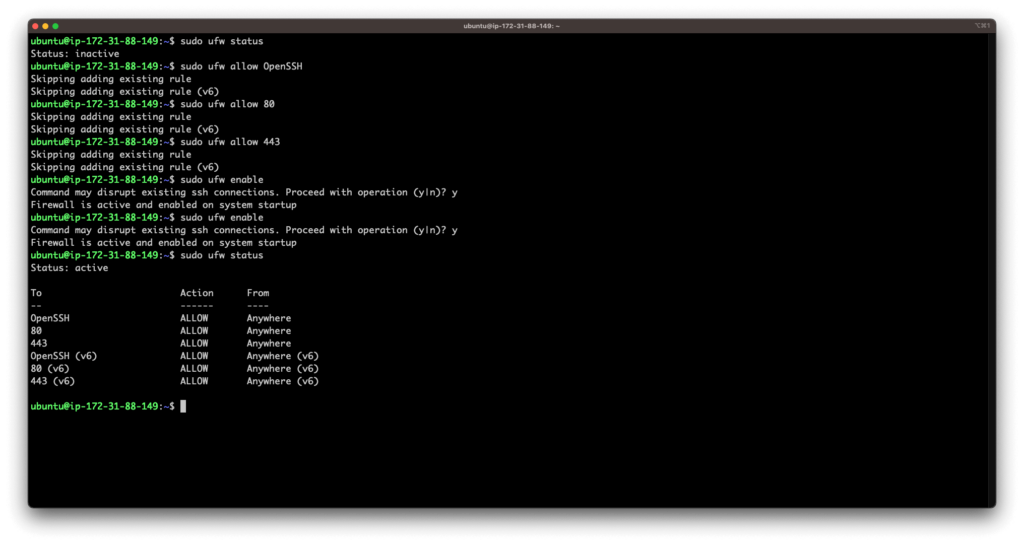
This should set up the firewall for good. Other than SSH, HTTP, and HTTPS, all connections to the server are rejected.
Our initial server setup is complete, we’ll now set up the LAMP stack which stands for Linux, Apache, MySQL, and PHP that enables us to run WordPress off an Ubuntu server.
Setting up the LAMP stack
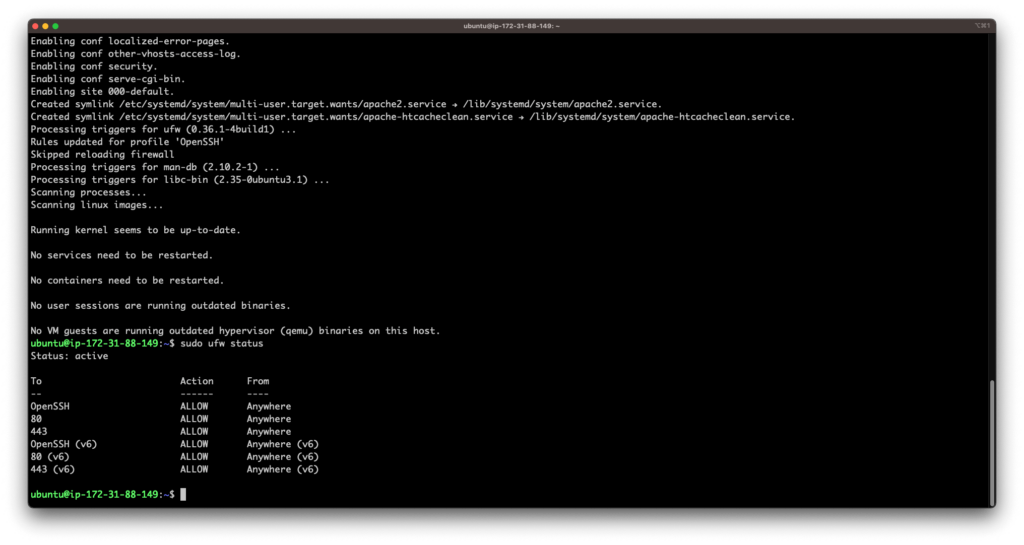
Installing the Apache web server
On the terminal window, type in the following commands:
sudo apt install apache2→ Installs the Apache web server.sudo ufw status→ Make sure ports 80 and 443 are allowed.
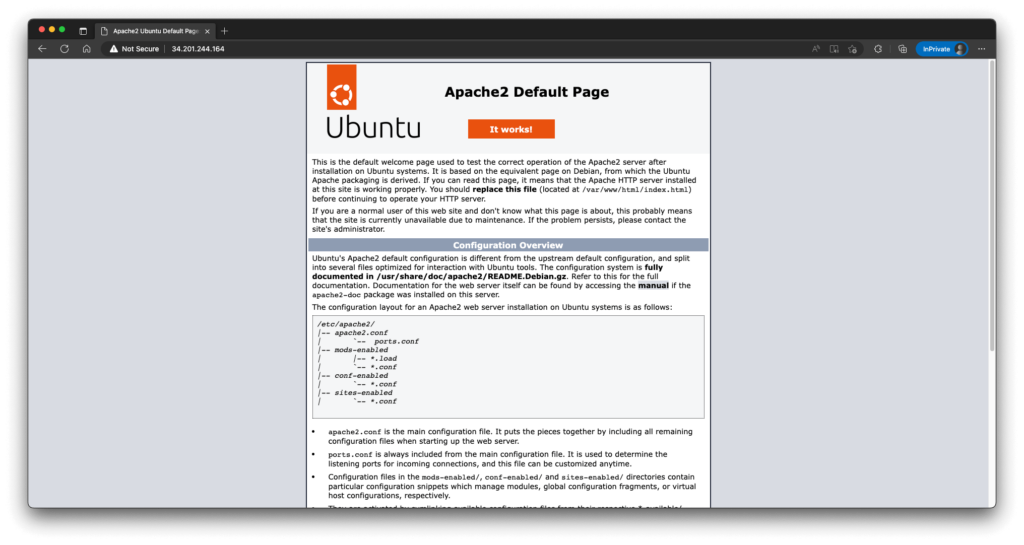
- Access the server homepage to verify that apache’s up and running. Type in the public IP address of your server in the following format:
http://[your_server_ip_address]It should look something like this:
Installing the MySQL database server
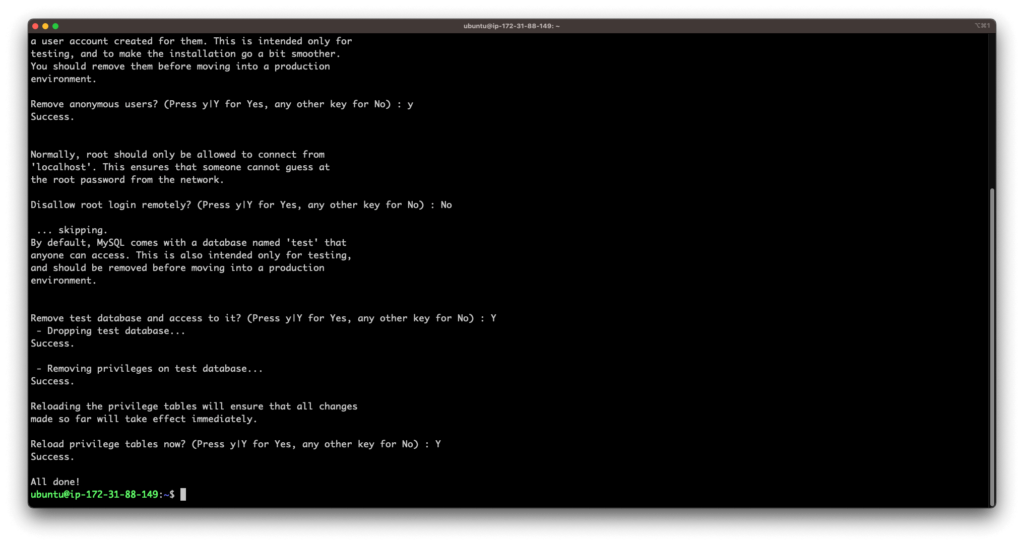
Once the web server is installed and we can access the Apache home page, we’ll install MySQL as our choice of database server. Execute the following commands:
sudo apt install mysql-server→ This will install MySQL along with all of its dependencies. Type inYwhen prompted to continue.sudo mysql_secure_installation→ This will secure the database server as we’re using it in a production environment. Make sure you keep theVALIDATE PASSWORDplugin disabled. Choose the root password of your choice and make sure to remember or write it down. If you get a failed error, we’ll set the root password using theALTER USERcommand: usesudo mysqlthen, once you’re in at the repl interface, useALTER USER 'root'@'%' IDENTIFIED WITH mysql_native_password by *'your_new_password'*;. Re-runsudo mysql_secure_installationagain.
- Try entering the mysql server with
mysql -u root -pcommand. It should now prompt for the root password and let you in.
We’ve finished the initial configuration of MySQL on our server.
Installing and configuring PHP and its dependencies
Type in the following commands:
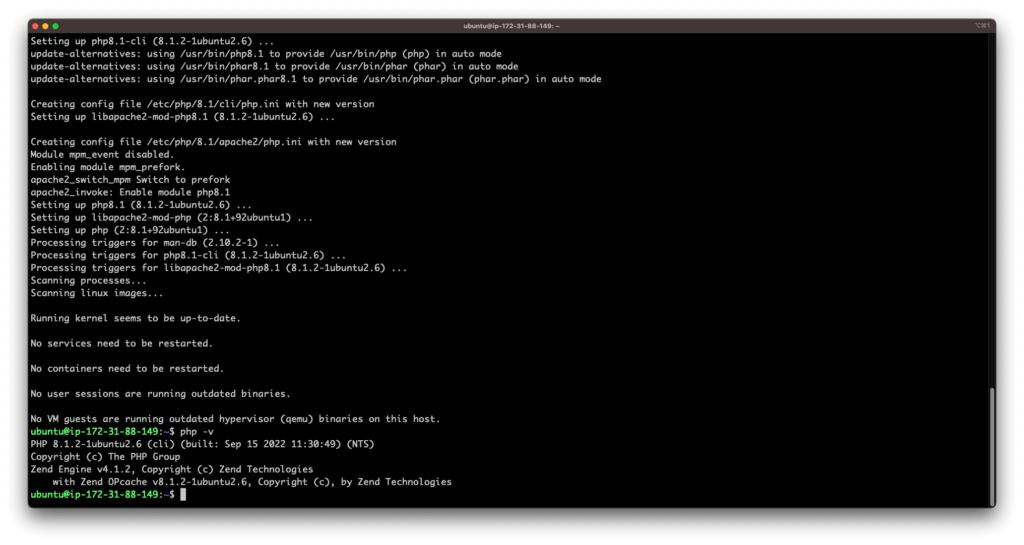
sudo apt install php libapache2-mod-php php-mysql php-curl php-gd php-mbstring php-xml php-xmlrpc php-soap php-intl php-zip→ Installs PHP module for apache, mysql, and other extensions for WordPress.- Test PHP installation with
php -v. If you get a similar output, you’re good to go.
Creating an Apache virtual host
- First of all, we’ll create a directory where our website will be served from. Navigate to
/var/wwwand executesudo mkdir /var/www/domain_name. In our case, it’ll besudo mkdir /var/www/testwp.rewaant.com. - Next, we’ll assign the ownership of the directory to the apache user which is
www-data. Type insudo chown -R www-data:www-data /var/www/your_domainthis grants apache’s user, the directory ownership. Make sure you also add your admin user to thewww-datagroup so you can write files in the directory with FTP or if a need arises in the future. - Navigate to
/etc/apache2/sites-available/and type insudo vim your_domain.conf. In our case, it’ll besudo vim testwp.rewaant.com.conf. You can also use the nano text editor if you prefer. - Type in the following to configure the server:
<VirtualHost *:80>
    ServerName testwp.rewaant.com
    ServerAlias www.testwp.rewaant.com
    ServerAdmin [email protected]
    DocumentRoot /var/www/testwp.rewaant.com
    ErrorLog ${APACHE_LOG_DIR}/error.log
    CustomLog ${APACHE_LOG_DIR}/access.log combined
		<Directory /var/www/testwp.rewaant.com/>
        AllowOverride All
    </Directory>
</VirtualHost>- Make sure you replace the domain configuration with your own and save the file by pressing
Esctyping:wq!and exit. - Type in
sudo a2ensite your_domainandsudo a2dissite 000-default→ This enables vhost for your site and disables default access to the server. - Test apache configuration with
sudo apache2ctl configtestmake sure it returnsSyntax OK. - Reload the configuration with
sudo systemctl reload apache2. - Remember, at this point, we haven’t pointed the domain to our server’s IP. We’ll do that next.
Configuring the domain
We simply need to add two records to our DNS manager (in our case it’s Cloudflare.) An A record should point to the IP address and a CNAME record for www should point to the apex domain. This should be configured just like in the screenshots:


We’ll now go back to the terminal and create a file index.html with the following content:
<h1>Our Site Works!</h1> → This isn’t the cleanest HTML site but gets the job done for us 😉
- Navigate:
cd /var/www/site_directory - Create a file with
sudo vim index.htmland paste the above HTML code. Save and exit withEsc+:wq!and test the link with the URL. In our case,testwp.rewaant.com - You should see something similar and this means that the site’s configured with our domain name.

Configuring the DirecotryIndex on Apache
We need the server to make sure that *.php take precedence over other extensions like *.html
- Type in
sudo vim /etc/apache2/mods-enabled/dir.conf - Add index.php before index.html as shown below

- Reload apache configuration with
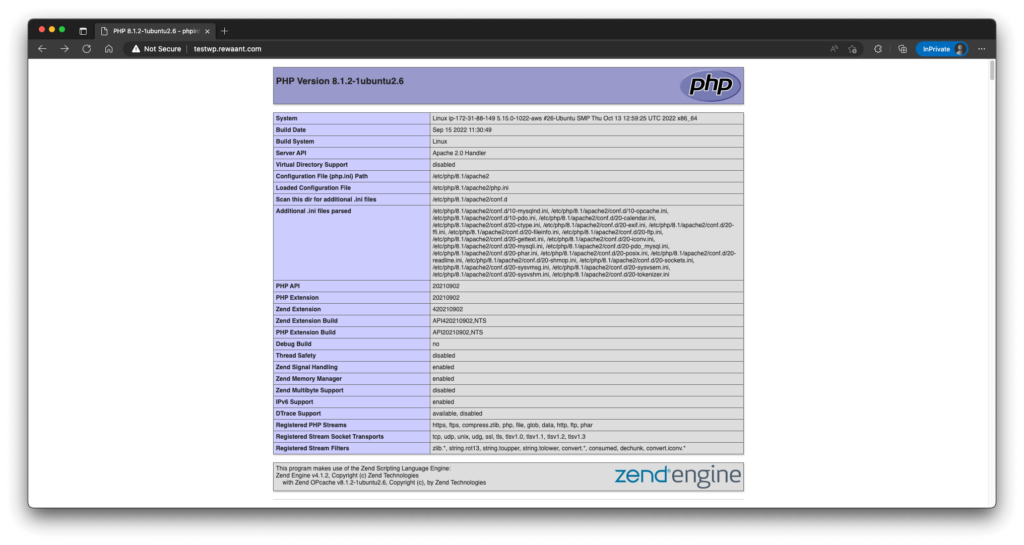
sudo systemctl reload apache2 - Create a new file
sudo vim /var/www/site_directory/info.phpand add the following content:<?php phpinfo(); - Test the link with the site URL and you should something similar:
- Make sure you remove the index.html and index.php files before proceeding as they are a security risk to be exposed to the public.
We now have the LAMP stack up and running properly. Next up, we’ll secure the domain on the server with Let’s Encrypt certificates.
Setting up Let’s Encrypt SSL Certificates
In order to setup free SSL certificates with Let’s Encrypt, we need a command line program called certbot setup on our server.
- Execute
sudo apt install certbot python3-certbot-apache→ This will install certbot and its apache supported plugin that’ll automate the whole process. - Type in
sudo certbot -d domain_name -d www.domain_name. In our case, this becomessudo certbot -d testwp.rewaant.com -d www.testwp.rewaant.com - It’ll prompt you for an admin email and acceptance of TOS. After that, it’ll validate and authenticate the domains.
- If it asks you to either set a redirect, select
2so all requests are routed to HTTPS. - Verify that certificate’s auto-renewal service is active. Use
sudo systemctl status certbot.timerand make sure it outputs as“active (waiting)” - Also, test the renewal process with
sudo certbot renew --dry-run. This will simulate a renewal and let you know if it’s working properly.
Your domain should now be secured and served automatically through HTTPS. Next up, we’ll setup WordPress itself.
Installing WordPress
Finally, let’s set up WordPress:
- We need to create a database and a user for the WordPress installation. Enter mysql with
mysql -u root -pprovide the root password you selected earlier in the tutorial. - Create a new database with
CREATE DATABASE wp_test DEFAULT CHARACTER SET utf8 COLLATE utf8_unicode_ci;Feel free to type in your preferred database name in place of wp_test. Make sure to replace in the following lines. - Create a new user specific to this WordPress installation with
CREATE USER 'testuser'@'%' IDENTIFIED WITH mysql_native_password BY 'password';Replace with appropriate credentials. - Now we need to grant all privileges on the WordPress database to this newly created user. Use
GRANT ALL ON wp_test.* TO 'testuser'@'%'; - Let’s make the credentials work by flushing privileges, type in
FLUSH PRIVILEGES;. TypeEXIT;to get out of mysql repl. We now have the database part all set. - Download WordPress to the temporary directory. Use
cd /tmp. Download with the command:curl -O https://wordpress.org/latest.tar.gz. Extract into its directory structure withtar xzvf latest.tar.gz - Add a .htaccess file with
touch /tmp/wordpress/.htaccessand copy the configuration file for production withcp /tmp/wordpress/wp-config-sample.php /tmp/wordpress/wp-config.php - Lastly, create a
upgradedirectory so it can process updates automatically. Type inmkdir /tmp/wordpress/wp-content/upgrade - Now copy the WordPress directory files to the site’s root directory. In our case, this command becomes:
sudo cp -a /tmp/wordpress/. /var/www/testwp.rewaant.com - Now, we’ll adjust the ownership and set the adequate file and directory permission values for WordPress. Use
sudo chown -R www-data:www-data /var/www/site_dirin our case it’ssudo chown -R www-data:www-data /var/www/testwp.rewaant.com. For setting directory permissions, usesudo find /var/www/site_dir/ -type d -exec chmod 750 {} \;and for file permissions, usesudo find /var/www/site_dir/ -type f -exec chmod 640 {} \; - Let’s set up the WordPress configuration file now. Grab salt values with
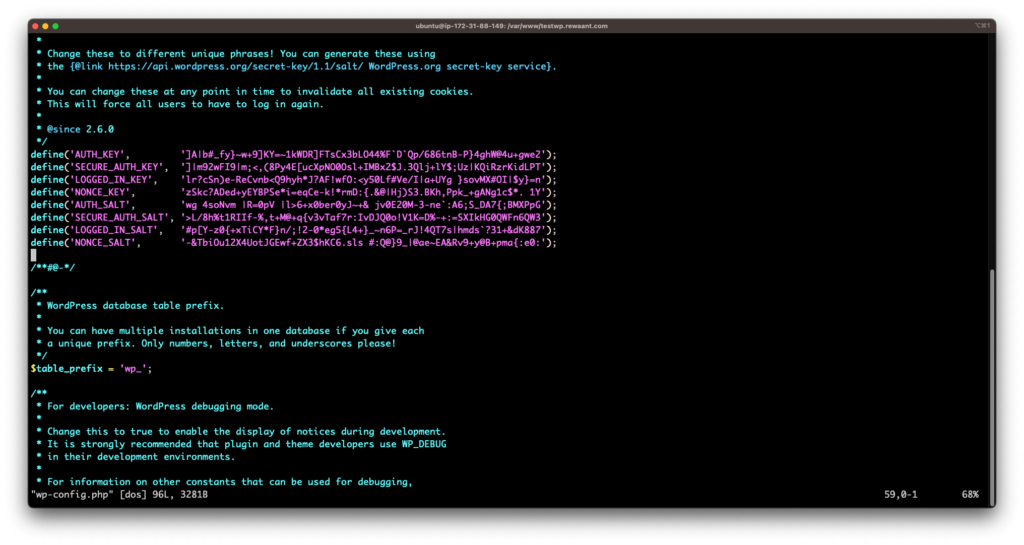
curl -s https://api.wordpress.org/secret-key/1.1/salt/ - You’ll see something similar:
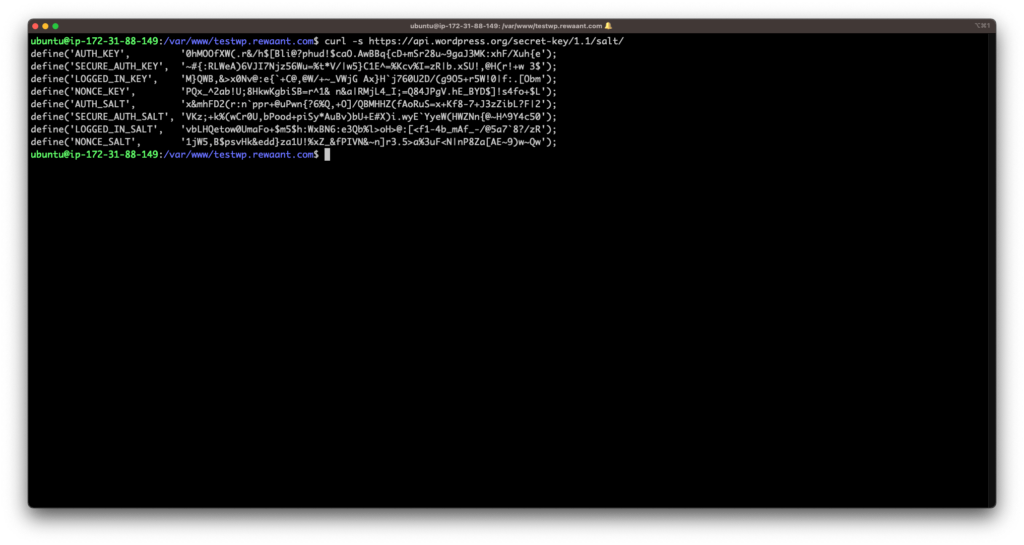
- Copy and replace the values in the wp-config.php file. Use vim wp-config.php and replace copied values in place of all the define(…, ‘put your unique values here’) constants. It should look like this once values are replaced:
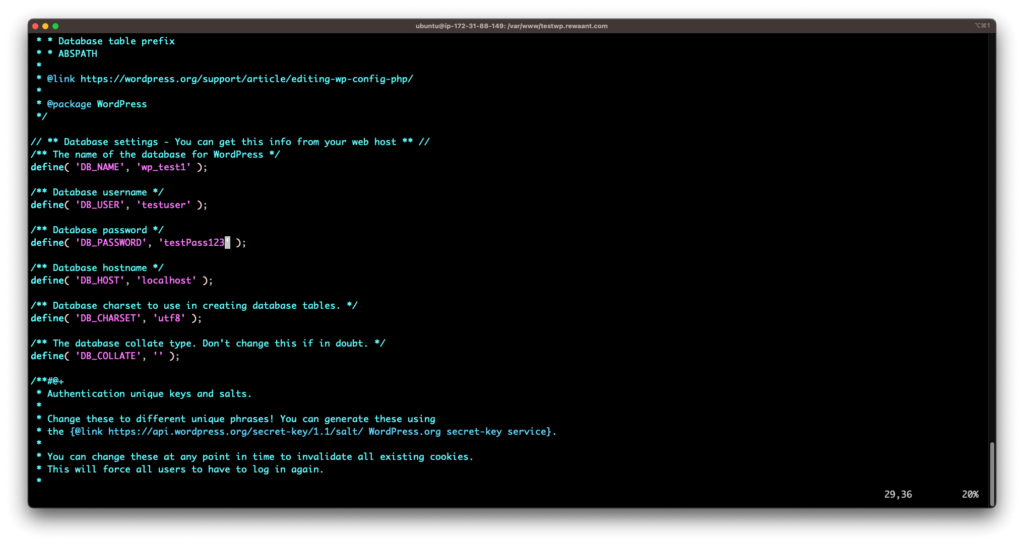
- We now need to update the database configuration as well. Make sure you have the database name and the user privileged to perform CRUD ops on that DB. Once you’re ready, replace the constants with the database name, username and it’s password. Use vim wp-config.php again and once it’s updated should look something like this:
- Hit Esc and use:
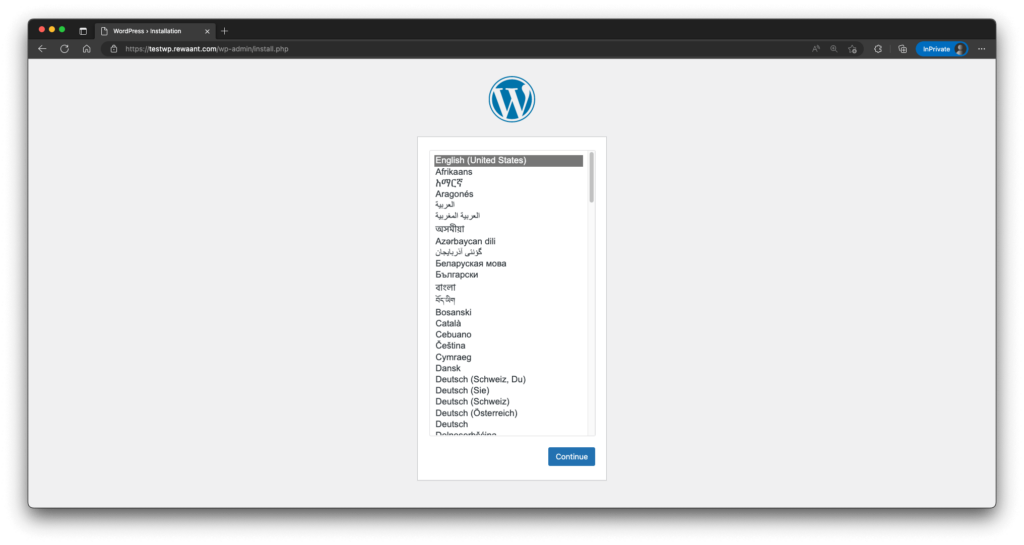
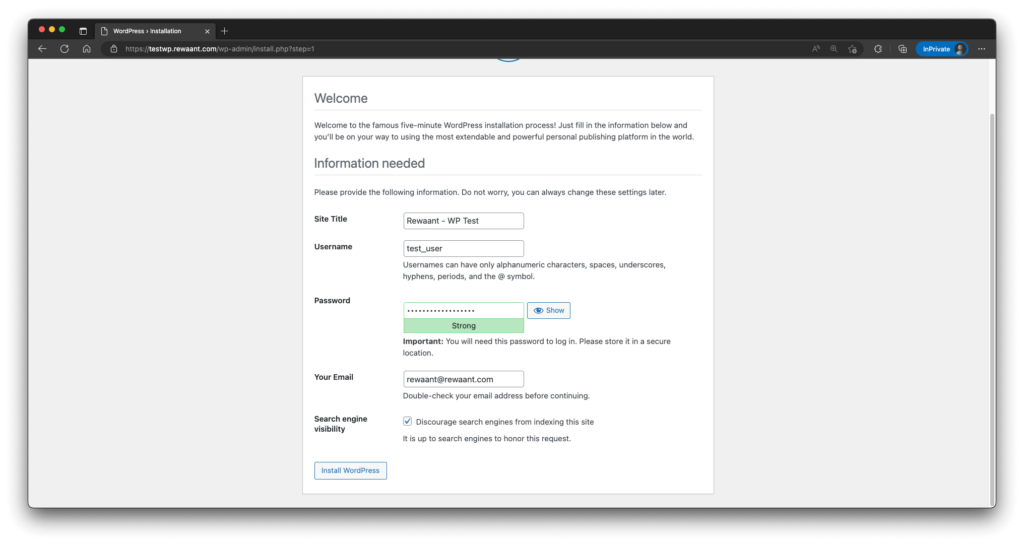
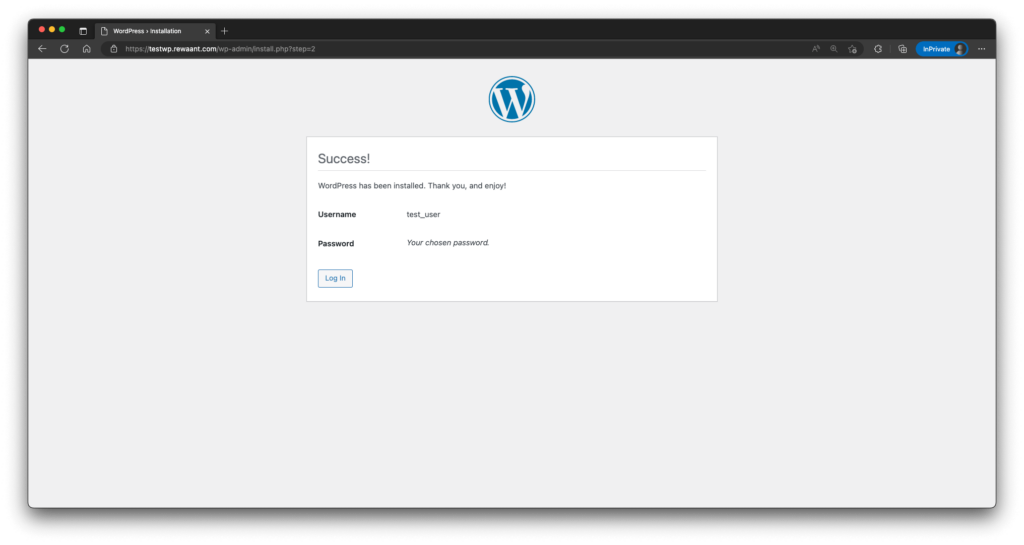
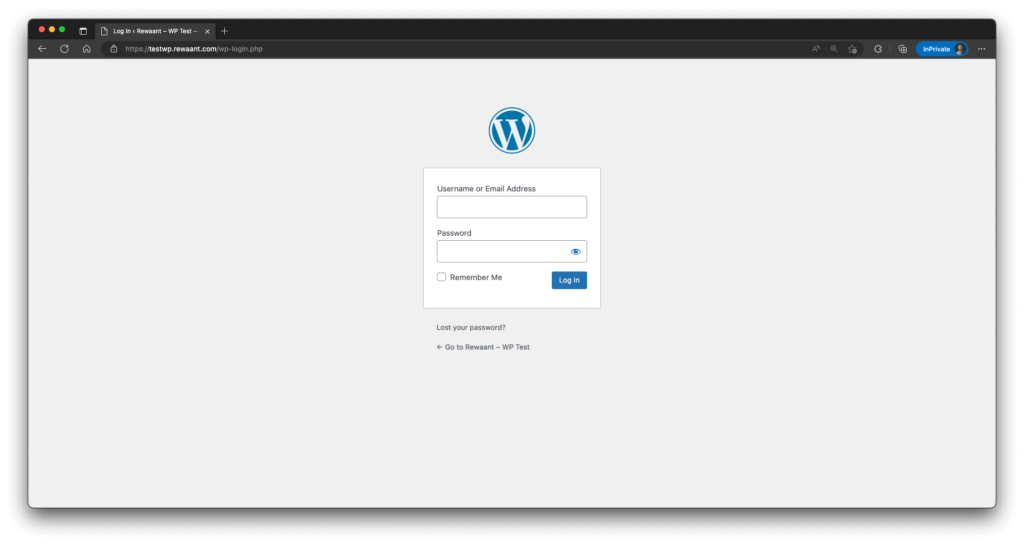
wq!to save changes and exit. - If we’ve set up the configuration file correctly and completed all these steps in sequence properly, we should now be ready to complete our installation through the web interface. Head over to the web address which in our case is
https://testwp.rewaant.com/Once we’re there we should have the WordPress-guided installation available for use. From then on setting it up is a piece of cake. You now have a basic WordPress self-hosted installation up and running.
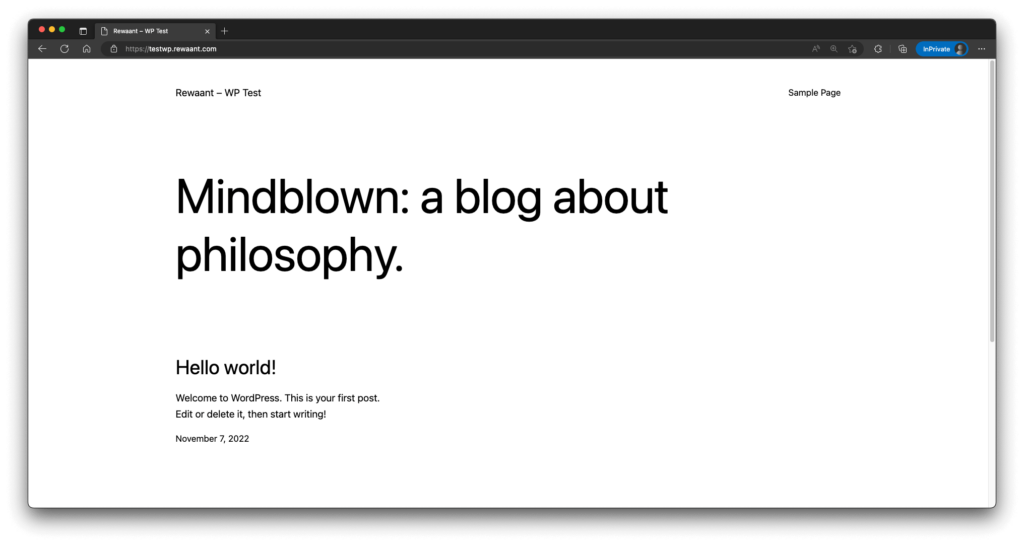
So that’s it, folks! We’re now running a completely self-hosted copy of WordPress on an Ubuntu server we almost set up from scratch. A lot of the things we’ve done could be further elaborated on or followed for specific requirements but there you have it for setting up a basic WordPress installation on a cloud server.
In the next (optional) section, we’ll be setting up PHPMyAdmin on the server which is a tool highly recommended if you regularly need maintenance work done or are planning to serve several websites from this server.
Configuring PHPMyAdmin (optional)
PHPMyAdmin is a great tool for site administrators who maintain PHP and MySQL websites. We’ll cut to the chase and quickly show how you can get it up and running on your Ubuntu server.
- We’ll start by updating all the packages:
sudo apt update - We’ll install all the required packages:
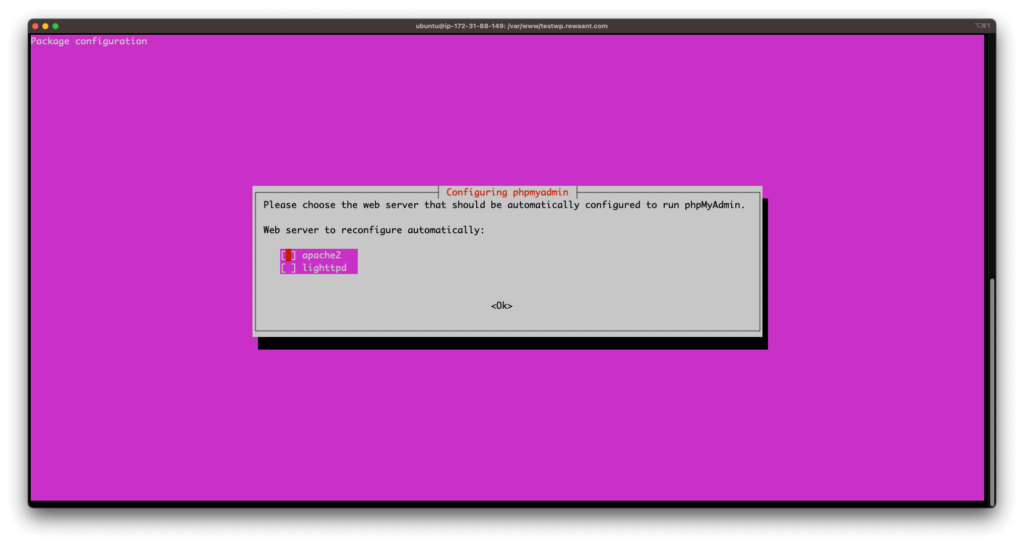
sudo apt install phpmyadmin php-mbstring php-zip php-gd php-json php-curl - Make sure you choose
apache2in the following screen:
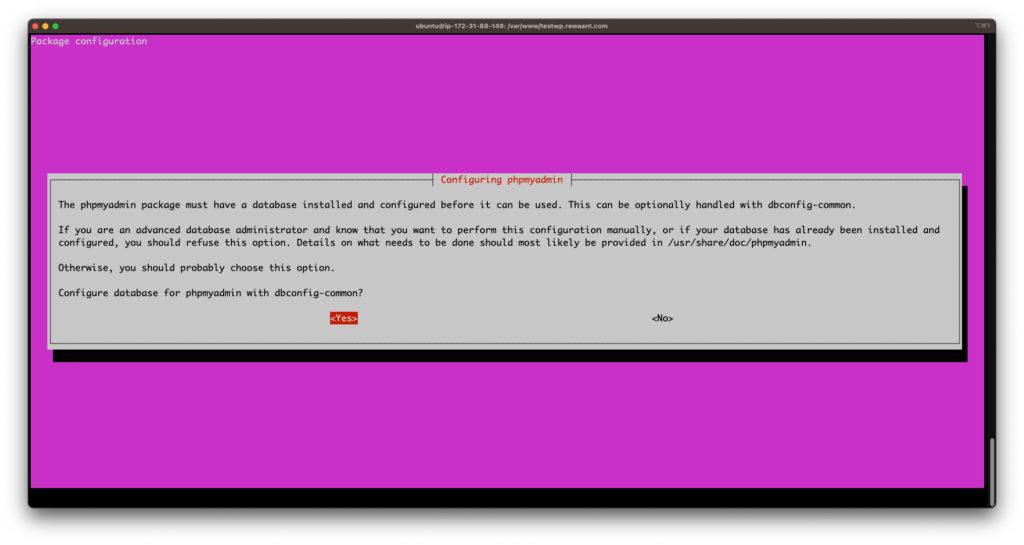
- Choose Yes to use dconfig-common in the following screen:
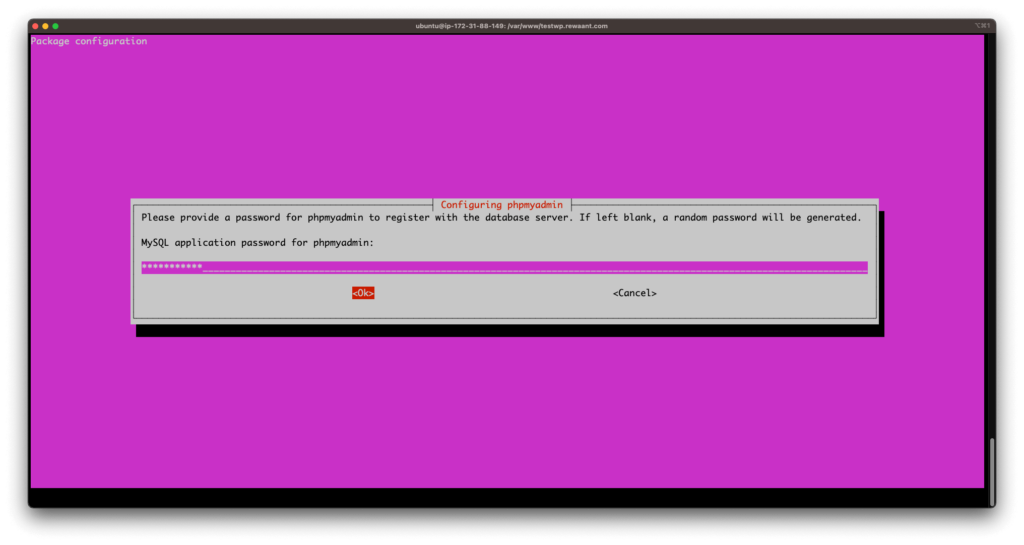
- Type in the MySQL application password when prompted:
- Once done, enable the php mbstring module with
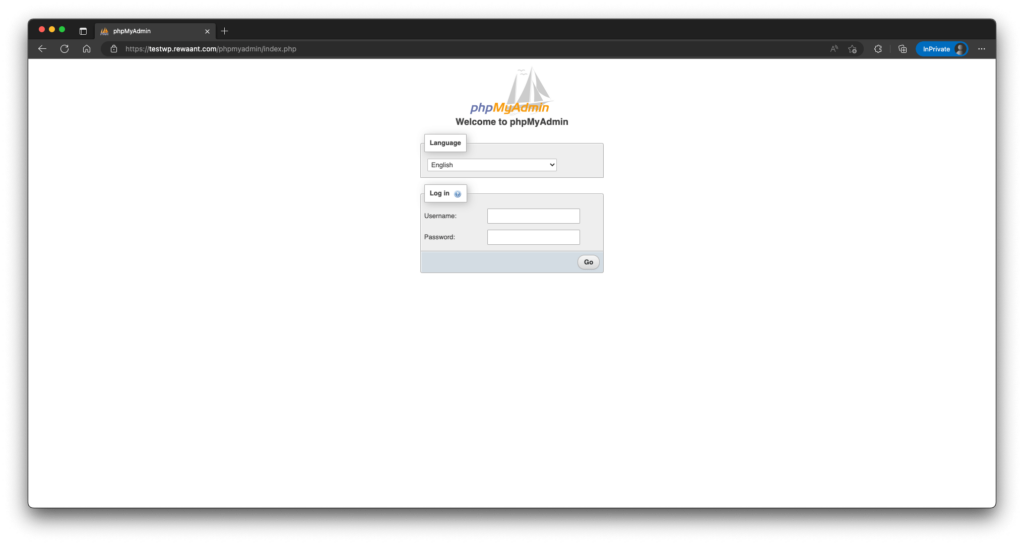
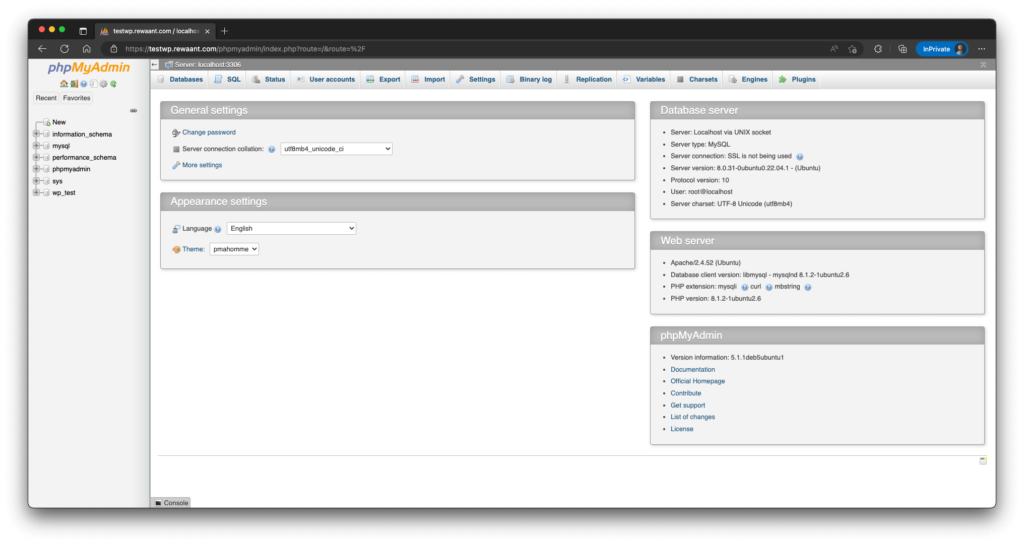
sudo phpenmod mbstringand restart apache withsudo systemctl restart apache2. - You should now be able to access PHPMyAdmin at
https://[your_domain]/phpmyadmin. Make sure you can log in with the root user. - In the event that you’re getting a 404 Not Found Error, open
/etc/apache2/apache2.confand appendInclude /etc/phpmyadmin/apache.confto the end of the file. Restart the apache2 service withsudo systemctl restart apache2. It should now work well.
- You may also need to increase the allowed upload limit for PHPMyAdmin from 2Mib to 128Mib or 256Mib to allow for importing larger database sizes. We’ve written a quick blog post on how to do that here.
There are a few more things that can be done to improve site/server performance as well as the flexibility to allow larger file uploads and requirement-specific configuration for PHP, Apache, and MySQL but I believe this guide is already getting too long. Please check other guides on related topics as well as keep a check on upcoming content.
If you face any issues following this guide, feel free to comment for help below or reach out directly to us at: [email protected]